Enable SSL/TLS for EMQX MQTT broker
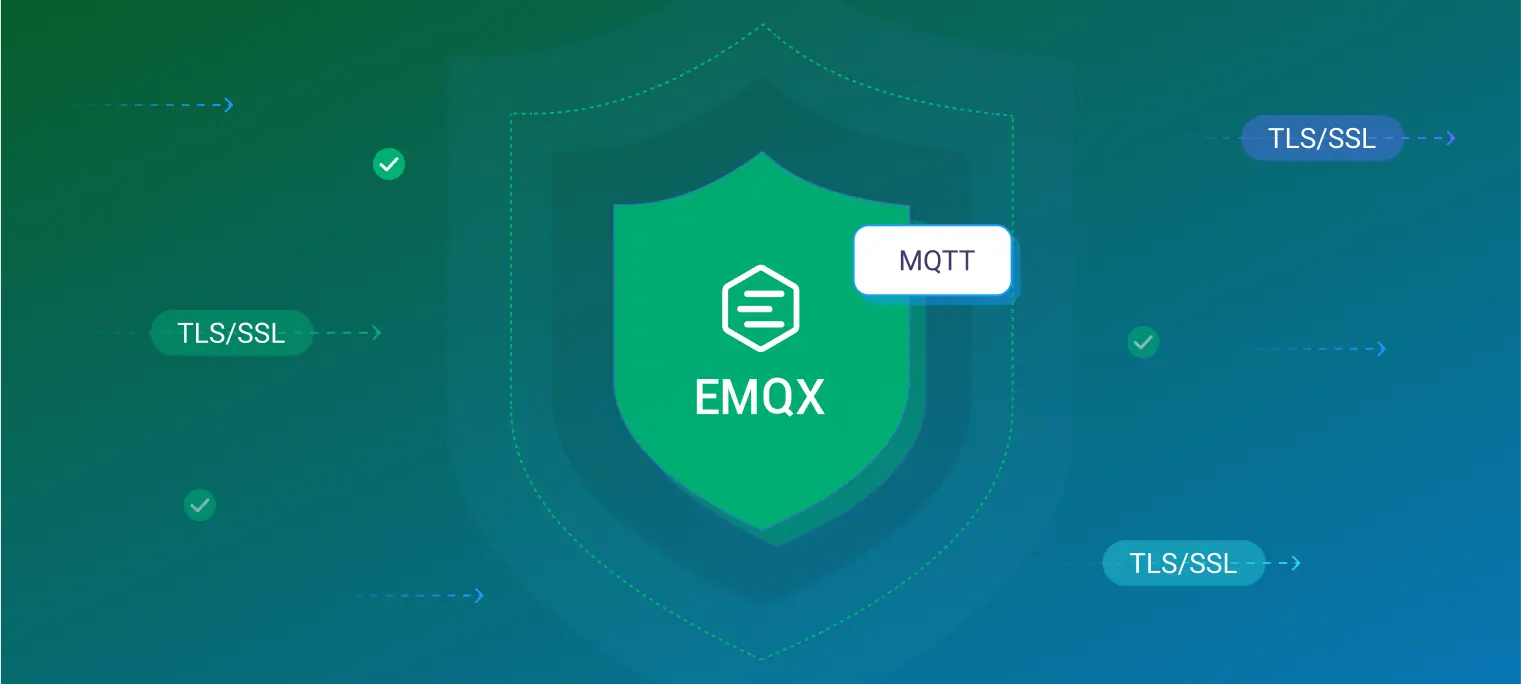
As a security protocol based on modern cryptographic public key algorithms, TLS/SSL can ensure the security of transmission in the computer communication network. EMQX has built-in support for TLS/SSL including one-way/two-ways authentication, the X.509 certificate, load balance SSL and many other security certifications. You can enable SSL/TLS for all protocols supported by EMQX, and can also configure HTTP API provided by EMQX to use TLS. This article will introduce how to enable TLS for MQTT in EMQX.
The security advantages brought by SSL/TLS
- Strong certification. When using TLS to establish connections, both communicating parties can check each other's identity. One of the common methods to check identity is that check another party's digital certificate X.509. This kind of digital certificate normally issued by a trusted institution, can not be forged.
- Ensure confidentiality. Every session of TLS communicating will be encrypted by the session key which is negotiated by both parties. Any third party will not know the communication content. Although one of the session keys is leaked, it does not affect the security of other sessions.
- Completeness. It is difficult that tamper with the data in encrypted communication and without being discovered.
SSL/TLS protocol
The process of communication in the TLS/SSL protocol consists of two parts. The first part is the handshake protocol. The purpose of this handshake protocol is to identify the identity of another party and establish a safe communication channel. After a handshake, both parties will negotiate the next password suite and session key. The second part is the record protocol. Record is highly similar to other data transmission protocols. It carries content type, version, length, load, etc, and the difference is that the information carried by this protocol is encrypted.
The following picture describes the process of the TLS/SSL handshake protocol. From "hello" of the client until "finished" of the broker. If you are interested in this, you can view more detailed material. Even if you do not know this process, you can also enable this function in EMQX.

Preparate of the SSL/TLS certificate
Generally speaking, we need a digital certificate to ensure the strong certification of TLS communication. The use of digital certificates is a three-party protocol. In addition to the communicating parties, there is a trusted third party to issue the certificate. Sometimes, this trusted third party is a CA. Communicating with CA is usually done by issuing certificates in advance. So, we need a CA's certificate and an EMQX's certificate these two certificates at least, and the EMQX's certificate is issued by CA and uses the CA's certificate for verification.
If you want to get a certificate that is trusted by the outside world, you need to buy it from the certificate service provider. In the lab environment, we can use the certificate produced by ourselves to simulate this process. Next, we will separately describe the process of enabling the EMQX broker's SSL/TLS through these two methods.
Notice: Readers only need to test with the configuration of either the purchased certificate or self-signed certificate according to their situation.
Purchase certificate
If you have the purchased certificate, do not need the self-signed certificate
To facilitate EMQX configuration, please rename the purchased certificate to emqx.crt and the certificate key to emqx.key.
The self-signed certificate
We assume that your system has installed OpenSSL. Using the toolkit included with OpenSSL can generate the certificate we needed.
First, we need a self-signed CA certificate. If you want to generate this certificate, you need a private key to sign it. You can execute the following command to generate this private key:
openssl genrsa -out ca.key 2048
This command will generate a key with a length of 2048 and will be stored in ca.key. If you have this key, you can use it to generate the root certificate of EMQX:
openssl req -x509 -new -nodes -key ca.key -sha256 -days 3650 -out ca.pem
View CA certificate information (optional):
openssl x509 -in ca.pem -noout -text
The root certificate is the starting point of an entire chain of trust. If the issuer of each level of a certificate and the issuer of the root certificate is trusted, this certificate is trusted. We can use it to issue the certificate for EMQX.
EMQX also needs its private key to ensure control for its certificates. The process of generating this private key is similar to the above:
openssl genrsa -out emqx.key 2048
Create file openssl.cnf
- req_distinguished_name :according to the situation to modify
- alt_names: modify
BROKER_ADDRESSto the real IP or DNS address of EMQX broker such as IP.1 = 127.0.0.1 or DNS.1 = broker.xxx.com
[req]
default_bits  = 2048
distinguished_name = req_distinguished_name
req_extensions = req_ext
x509_extensions = v3_req
prompt = no
[req_distinguished_name]
countryName = CN
stateOrProvinceName = Zhejiang
localityName = Hangzhou
organizationName = EMQX
commonName = Server certificate
[req_ext]
subjectAltName = @alt_names
[v3_req]
subjectAltName = @alt_names
[alt_names]
IP.1 = BROKER_ADDRESS
DNS.1 = BROKER_ADDRESS
Then, use this key and configuration to issue a certificate request:
openssl req -new -key ./emqx.key -config openssl.cnf -out emqx.csr
Then use the root certificate to issue the certificate of EMQX:
openssl x509 -req -in ./emqx.csr -CA ca.pem -CAkey ca.key -CAcreateserial -out emqx.pem -days 3650 -sha256 -extensions v3_req -extfile openssl.cnf
View the EMQX entity certificate information (optional):
openssl x509 -in emqx.pem -noout -text
Verify the EMQX entity certificate to make sure it is correct:
$ openssl verify -CAfile ca.pem emqx.pem
emqx.pem: OK
After preparing the certificate, we can enable the TLS/SSL function of EMQX.
Enable and verify SSL/TLS
In the EMQX, the default listening port of mqtt:ssl is 8883.
The way to purchase the certificate
EMQX configuration
Copy the renamed file mentioned earlier emqx.key and emqx.crt into the directory etc/certs/ of EMQX, and refer the following configuration to modify emqx.conf:
## listener.ssl.$name is the IP address and port that the MQTT/SSL
## Value: IP:Port | Port
listener.ssl.external = 8883

## Path to the file containing the user's private PEM-encoded key.
## Value: File
listener.ssl.external.keyfile = etc/certs/emqx.key

## NOTE: If emqx.crt is a certificate chain, please make sure the first certificate is the certificate for the server, but not a CA certificate.
## Path to a file containing the user certificate.
## Value: File
listener.ssl.external.certfile = etc/certs/emqx.crt
MQTT connection test
After finished configuring and restarted EMQX, we use MQTT client tool - MQTTX (this tool is cross-platform and supports MQTT 5.0) to verify that whether TLS service is normally running.
The requirement of MQTTX version: v1.3.2 or higher version
- Refer to the following picture to create
MQTT clientin the MQTTX (mqttx.appin the Host input box need to be replaced by the real domain name)
Notice: only need to chooseCA signed serverin theCertificate. When use the purchased certificate to do a one-way verification connection, do not need to carry any certificate files (the CA file does also not need to be carried). - Click the button
Connectand after successfully connecting, if you can use MQTT publish/subscribe function, the SSL one-way verification of the purchased certificate is succeeded.
The way of self-signed
EMQX configuration
Copy the file emqx.pem, emqx.key and ca.pem generated by OpenSSL tool into the directory etc/certs/ of EMQX, and refer the following configuration to modify emqx.conf:
## listener.ssl.$name is the IP address and port that the MQTT/SSL
## Value: IP:Port | Port
listener.ssl.external = 8883

## Path to the file containing the user's private PEM-encoded key.
## Value: File
listener.ssl.external.keyfile = etc/certs/emqx.key

## NOTE: If emqx.pem is a certificate chain, please make sure the first certificate is the certificate for the server, but not a CA certificate.
## Path to a file containing the user certificate.
## Value: File
listener.ssl.external.certfile = etc/certs/emqx.pem

## NOTE: ca.pem is to hold the server's intermediate and root CA certificates. Other trusted CAs can be appended for client certificate validation.
## Path to the file containing PEM-encoded CA certificates. The CA certificates
## Value: File
listener.ssl.external.cacertfile = etc/certs/ca.pem
MQTT connection test (OpenSSL)
- Using OpenSSL as Server and Client
openssl s_server -accept 2009 -key emqx.key -cert emqx.pem$ openssl s_client -connect localhost:2009 -CAfile ca.pem -showcerts Verify return code: 0 (ok) - Using OpenSSL as Client and EMQX as Server
Enable EMQX and change the log level to Debug../bin/emqx start ./bin/emqx_ctl log set-level debug
Use OpenSSL s_client to connect to EMQX and send an MQTT Connect packet with Client ID "a".$ echo -en "\x10\x0d\x00\x04MQTT\x04\x00\x00\x00\x00\x01a" | openssl s_client -connect localhost:8883 -CAfile ca.pem -showcerts Verify return code: 0 (ok)
If you see the following log inemqx/log/erlang.log.1, the SSL authentication was successful.2020-11-26 17:39:13.933 [debug] 127.0.0.1:51348 [MQTT] RECV CONNECT(Q0, R0, D0, ClientId=a, ProtoName=MQTT, ProtoVsn=4, CleanStart=false, KeepAlive=0, Username=undefined, Password=undefined)
MQTT connection test (MQTTX)
After finished configuring and restarted EMQX, we use MQTT client tool - MQTTX (this tool is cross-platform and supports MQTT 5.0) to verify that whether TLS service is normally running.
- Refer to the following picture to create
MQTT clientin the MQTTX (127.0.0.1in the Host input box need to be replaced by the real IP of EMQX broker)

You need to select Self signed in the Certificate column and carry the file ca.pem generated by the self-signed certificate.
- Click the button
Connectand after successfully connecting, if you can use MQTT publish/subscribe function, the SSL one-way verification of the self-signed certificate is succeeded.

EMQX Dashboard verification
Finally, open the Dashboard of EMQX. On the Listeners page, you can see that there is an mqtt:ssl connection on port 8883.

So far, we successfully finished the configuration of SSL/TLS and test of one-way verification connection. As for the SSL/TLS two-way verification configuration documentation of EMQX, please follow our follow-up articles.