Using MQTTLens to connect to EMQX Cloud
This article will take MQTTLens as MQTT client test tool to connect to MQTT Cloud Service - EMQX Cloud. Through this article, you will be able to quickly understand the basic usage of MQTTLens and the basic concepts and usage of the MQTT protocol.
Introduction to MQTTLens
MQTTLens is a Chrome extension tool that can be installed through the Chrome On-line App Store. The MQTTLens interface is very simple and provides basic publish/subscribe functions.
MQTTLens is simple enough. With the help of Chrome’s powerful cross-platform features, it provides the basic MQTT and MQTT over WebSocket connection functions, which can quickly meet the needs of entry and exploration.
MQTTLens fully supports the following functions:
- It can establish connections with multiple MQTT servers at the same time and distinguish them with different colors
- The interface for subscribing, publishing and checking messages is very simple and easy to master
- It supports MQTT and MQTT over WebSocket
Introduction to EMQX Cloud
EMQX Cloud is a fully managed cloud-native MQTT service launched by EMQ company that can connect to a large number of IoT devices and integrate various databases and business systems. As the world's first fully managed MQTT 5.0 public cloud service, EMQX Cloud provides MQTT message service with one-stop operation and maintenance management and a unique isolation environment.
In the era of the IoT, EMQX Cloud can help users quickly build industry applications for the IoT area and easily realize the collection, transmission, calculation, and persistence of IoT data.
This article will use Free Public MQTT Broker provided by EMQX Cloud as the MQTT server address for this test. The server access information is as follows:
- Broker: broker.emqx.io
- TCP Port: 1883
- SSL/TLS Port: 8883
For more details, please visit EMQX Cloud website or check EMQX Cloud documentation.
MQTTLens usage
MQTT Connection
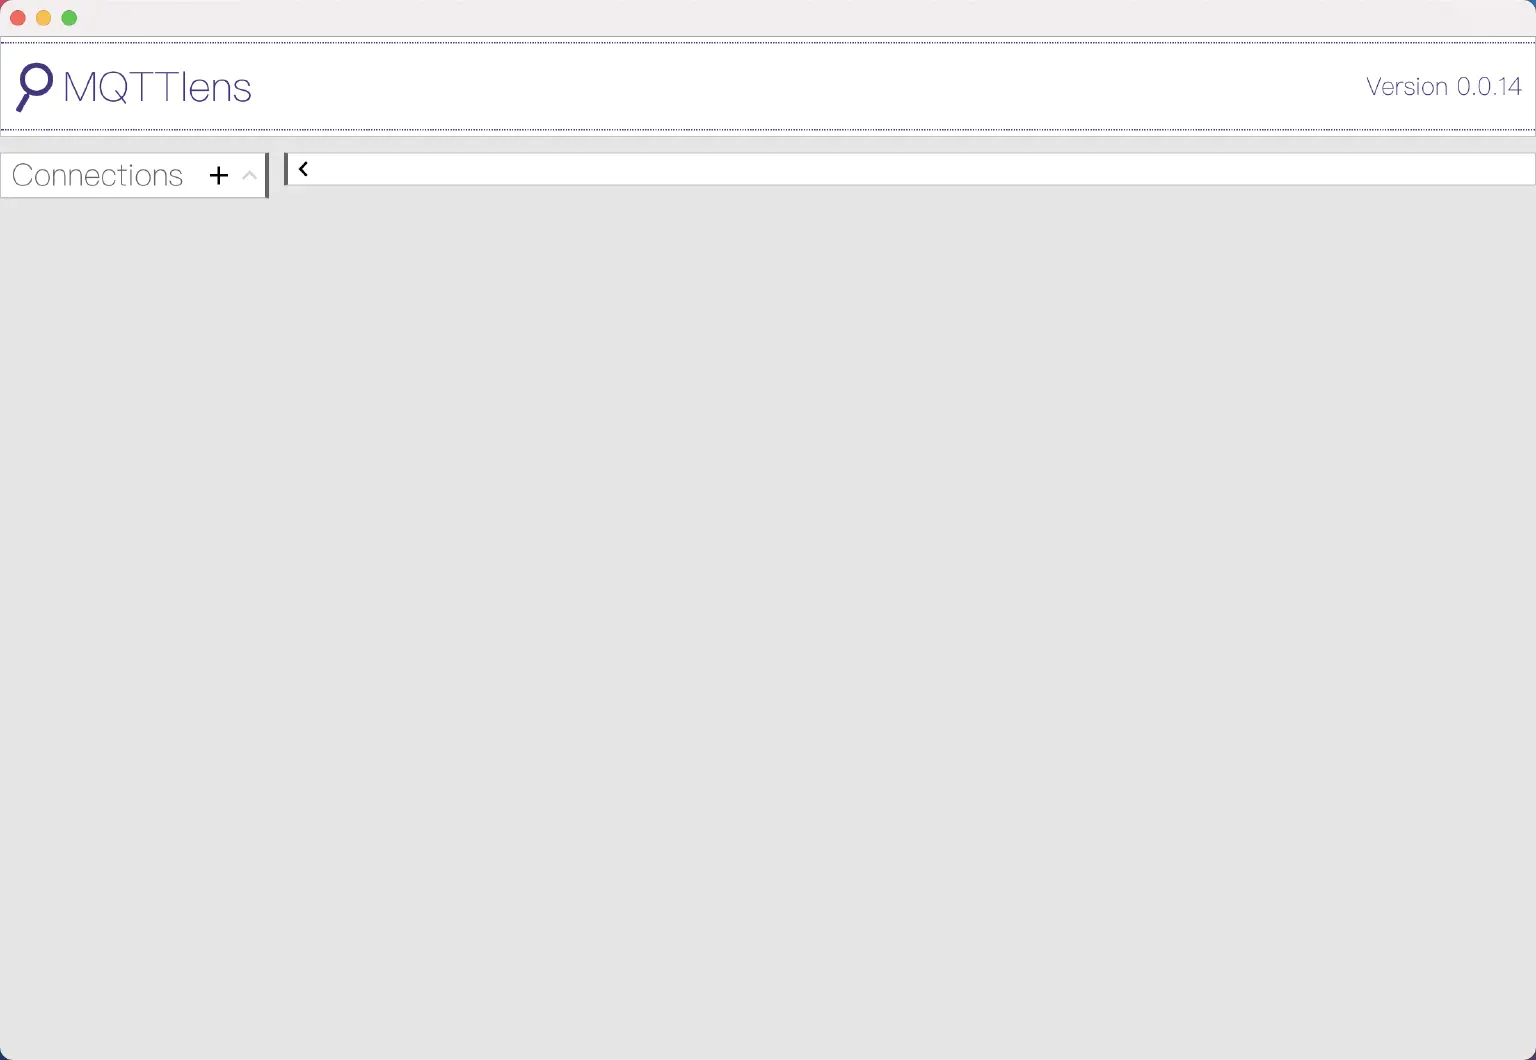
Initialization page
We enter the Chrome On-line App Store and click Install to open the application in Chrome.
After entering the main interface of the application, we click the Connections button on the right to create a new connection client.
Create a connection
After clicking the button to add a new connection, a pop-up box for filling in MQTT related configuration will appear. Fill in Connection name, Hostname, Port, select connection protocol and other necessary MQTT related configuration information, and click CREATE CONNECTION button at the bottom to instantly create a connection client.
MQTTLens also supports the configuration of will messages. At the bottom of the pop-up box, click Last-Will to configure related configurations.
Note: If MQTT Broker has enabled username/password authentication, you also need to enter Username/Password in the configuration page.

After the creation is successful, the application will enter the operation page for connecting to the client. If the button on the right of connection list turns green, it means that the MQTT client has been successfully created and successfully connected. Click the green button again to turn it into the red to disconnect the client. Click the settings button on the right to edit the client configuration again, and click the delete button to quickly delete the connection.
Subscribe to a topic
Once the connection is established, you can start subscribing to messages. Because the MQTT protocol uses a publish/subscribe model, we need to subscribe to the topic after connecting, and the message of the topic can be received after the subscription is successful.
In the operation page of the MQTTLens client, there are three modules in the right view, which is Subscrible, Publish and Subscriptions respectively. Subscrible cab be used to configure the subscription topic. Publish can be used to send related data and configuration information. When the messages are received, a message list will be displayed under the Subscriptions.
We first enter Topic: testtopic/mqttlens in the Subscrible at the top. After selecting the QoS level, click the Subscribe button to subscribe to the related topic.
MQTT message publishing
Enter the Topic to be published in the Publish module. Here we enter the testtopic/mqttlens that was just subscribed to, and select the QoS level. If it is a Retain message, you need to check the Retained option. After entering a piece of character information in the Payload box, click the Publish button.
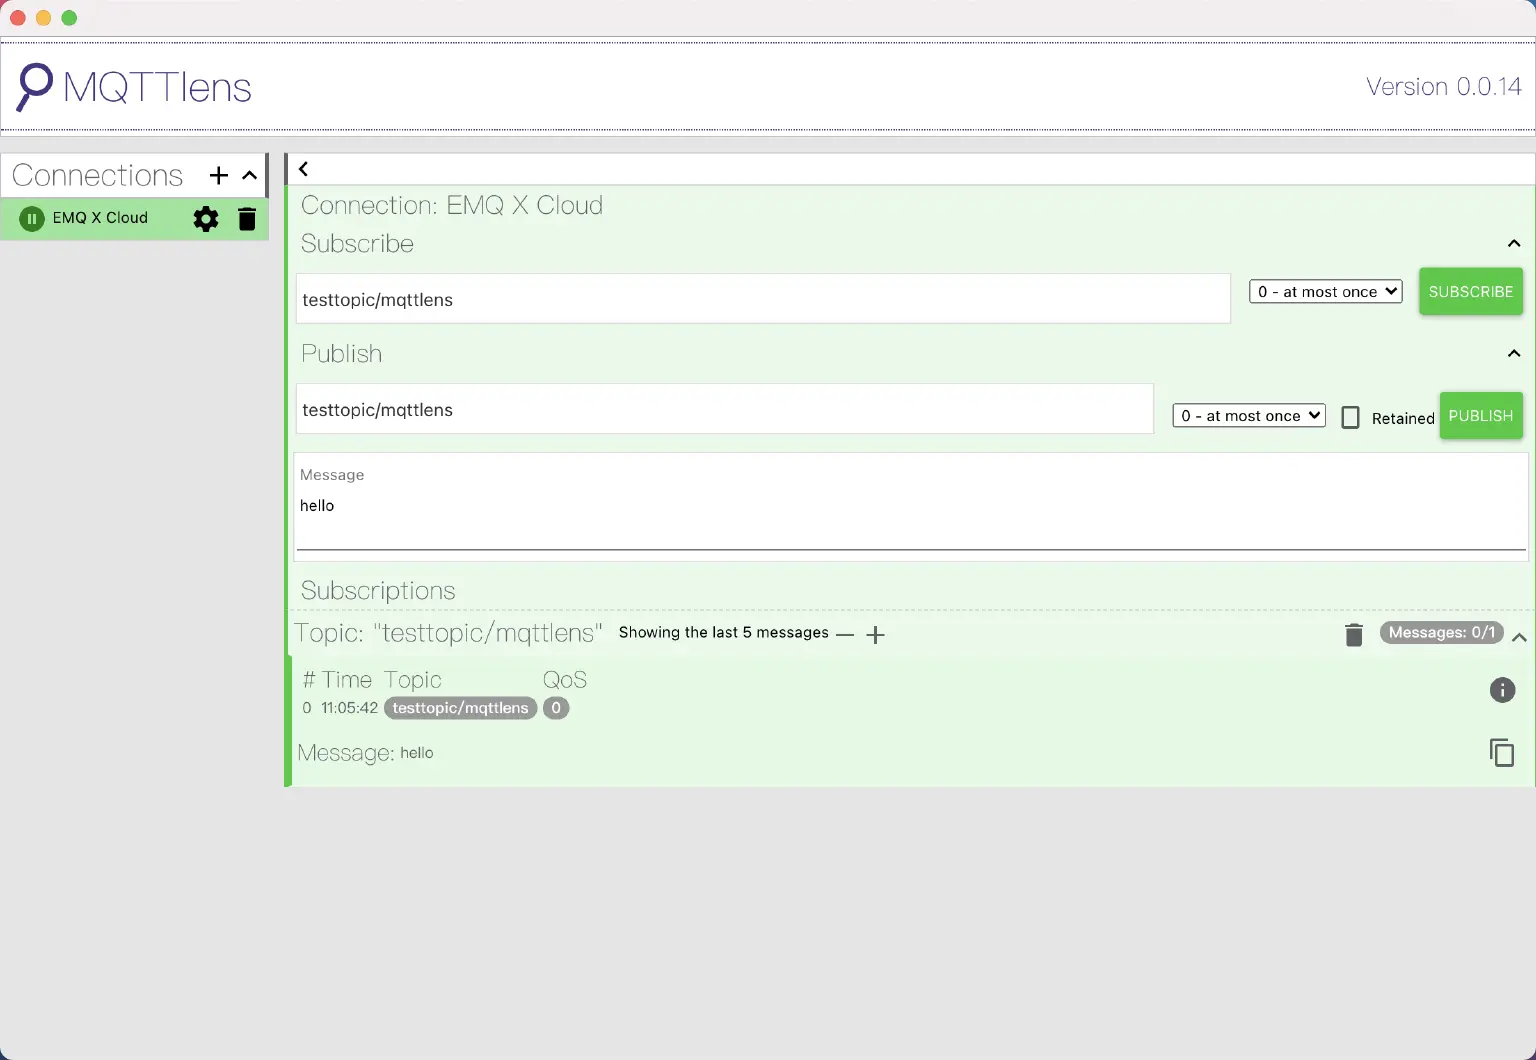
At this point, we can see the message just published in the Subscriptions box at the bottom. So far, we have created an MQTT client and successfully tested functions such as connection, publishing and subscription.