Build a private smart home hub with Raspberry Pi
With the development of IoT technology, the smart home system has been further developed which uses many IoT devices (such as temperature and humidity sensors) to real-time monitor the internal status of the home. With the increasing number of smart home devices, a smart home hub provides a bridge for allowing your various devices to "talk" to each other. The user is not always willing to upload the data to the cloud for processing because of the privacy of home data.
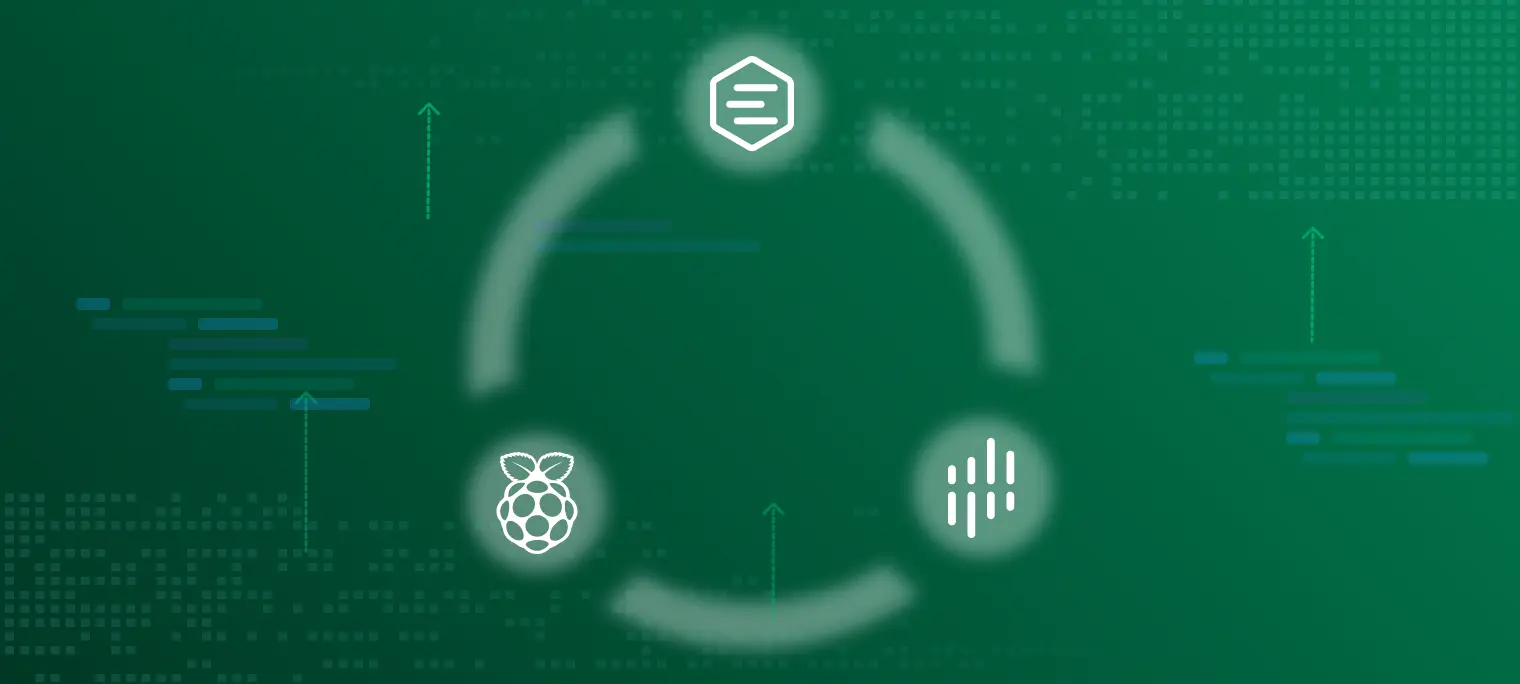
We will use Raspberry Pi + EMQX Edge + EMQX Kuiper to build the smart home hub for implementing the edge computing of smart home device data and reducing leaking the private home data.
In this article, we will use the BH1750FVI light intensity sensor to collect the light intensity data of home, EMQX Kuiper to analyze and process the light intensity data, and control the LED light according to pre-defined rules.
Required components
Raspberry Pi 3b+ and higher versions
The Raspberry Pi 3 Model B+ is the latest product in the Raspberry Pi 3 range, boasting an updated 64-bit quad core processor running at 1.4GHz with built-in metal heatsink, dual-band 2.4GHz and 5GHz wireless LAN, faster (300 mbps) Ethernet, and PoE capability via a separate PoE HAT.
EMQX Edge
The communicating protocols between smart home devices are MQTT, Wi-Fi, Bluetooth, etc. The MQTT protocol is an IoT communicating protocol based on publish/subscribe model, which is simple and easy to implement, supporting QoS and with the small packet. In this article, we will use the MQTT protocol as the communicating protocol between smart home devices.
Because of the limited RAM and processing power of raspberry Pi we choose the EMQX Edge open-sourced by EMQ as the MQTT broker. EMQX Edge is the lightweight IoT edge caculating message middleware and supports the IoT edge hardware.
EMQX Kuiper
Because the format of data transmission between smart home devices is different and the data is volatile, we need to process the data reported by the device. In this article, we will use the EMQX Kuiper open-sourced by EMQ to do the edge computing of the data of the smart home device. EMQX Kuiper is a lightweight edge streaming message processing engine based on SQL. It can run on edge devices with limited resources.
Through real-time analyze the various data of the smart home device, can implement managing the device's status and controlling device.
Other components
- BH1750FVI light intensity sensor
- LED
- 330 Ω resistance
- Breadboard, some jumpers
Project diagram

Build environment
Diagram of a breadboard setup

Raspberry Pi configuration
We use raspbian 8 as Raspberry Pi operating system and choose python 3 as the programming language of the project
#   Create a project directory smart-home-hubs
mkdir ~/smart-home-hubs
Installation and running of EMQX Edge
$ cd ~/smart-home-hubs
# Download software package
$ wget https://www.emqx.com/en/downloads/edge/v4.1.0/emqx-edge-raspbian8-v4.1.0.zip
$ unzip emqx-edge-raspbian8-v4.1.0.zip
$ cd ./emqx
# Running EMQX Edge
$ ./bin/emqx start
Installation and running of EMQX Kuiper
$ cd ~/smart-home-hubs
# Download software package
$ wget https://github.com/lf-edge/ekuiper/releases/download/0.4.2/kuiper-0.4.2-linux-armv7l.zip
$ unzip kuiper-0.4.2-linux-armv7l.zip
$ mv kuiper-0.4.2-linux-armv7l ./kuiper
$ cd ./kuiper
# Create rules directory for storing rule files
$ mkdir ./rules
# Running EMQX Kuiper
$ ./bin/server
Writing code
Upload the data of BH1750FVI light sensor
Writing code and calculate the light intensity data of BH1750FVI sensor, and publish the light intensity data to the topic smartHomeHubs/light through MQTT protocol at a frequency of 1 time/second.
# gy30.py
import json
import time

import smbus
from paho.mqtt import client as mqtt


# BH1750FVI config
DEVICE = 0x23  # Default device I2C address
POWER_DOWN = 0x00
POWER_ON = 0x01
RESET = 0x07
CONTINUOUS_LOW_RES_MODE = 0x13
CONTINUOUS_HIGH_RES_MODE_1 = 0x10
CONTINUOUS_HIGH_RES_MODE_2 = 0x11
ONE_TIME_HIGH_RES_MODE_1 = 0x20
ONE_TIME_HIGH_RES_MODE_2 = 0x21
ONE_TIME_LOW_RES_MODE = 0x23
bus = smbus.SMBus(1)

# MQTT broker config
broker = '127.0.0.1'
port = 1883
topic = 'smartHomeHubs/light'

def read_light():
    data = bus.read_i2c_block_data(DEVICE, ONE_TIME_HIGH_RES_MODE_1)
    light_level = round((data[1] + (256 * data[0])) / 1.2, 2)
    return light_level


def connect_mqtt():
    client = mqtt.Client(client_id='light_01')
    client.connect(host=broker, port=port)
    return client


def run():
    mqtt_client = connect_mqtt()
    while True:
        light_level = read_light()
        publish_msg = {'lightLevel': light_level}
        mqtt_client.publish(
            topic,
            payload=json.dumps(publish_msg)
        )
        print(publish_msg)
        time.sleep(1)


if __name__ == "__main__":
    run()
Configuring the streaming rule of EMQX Kuiper
We will create stream smartHomeHubs in the EMQX Kuiper and configure rules to real-time analyze light intensity data to implement control of LED lights.
In this article, we will calculate the average value of light intensity. When the average light intensity lasts 5 seconds is less than 55, turn on LED (if greater than, then turn off LED).
- Create stream
$ cd ~/smart-home-hubs/kuiper $ ./bin/cli create stream smartHomeHubs '(lightLevel float) WITH (FORMAT="JSON", DATASOURCE="smartHomeHubs/light")' - Writing the rule for turning on LED (./rules/onLed.rule)
When the average light intensity lasts 5 seconds is less than 55, send message{\"status\": \"on\"}"to the topicsmartHomeHubs/ledto turn on LED.{ "sql":"SELECT avg(lightLevel) as avg_light from smartHomeHubs group by TUMBLINGWINDOW(ss, 5) having avg_light < 55;", "actions":[ { "mqtt":{ "server":"tcp://127.0.0.1:1883", "topic":"smartHomeHubs/led", "sendSingle":true, "dataTemplate": "{\"status\": \"on\"}" } } ] } - Writing the rule for turning off LED (./rules/offLed.rule)
When the average light intensity lasts 5 seconds is greater than 55, send message{\"status\": \"off\"}"to the topicsmartHomeHubs/ledto turn off LED.{ "sql":"SELECT avg(lightLevel) as avg_light from smartHomeHubs group by TUMBLINGWINDOW(ss, 5) having avg_light > 55;", "actions":[ { "mqtt":{ "server":"tcp://127.0.0.1:1883", "topic":"smartHomeHubs/led", "sendSingle":true, "dataTemplate": "{\"status\": \"off\"}" } } ] } - Add rules
$ ./bin/cli create rule onLed -f ./rules/onLed.rule
$ ./bin/cli create rule onLed -f ./rules/offLed.rule
- View rules
$ ./bin/cli show rules
Control LED
Writing code to connect to the EMQX Edge and subscribe to the topic smartHomeHubs/led. Monitor the content of subscribed MQTT messages, turn on the LED when the status is on, and turn off the LED when the status is off.
# led.py
import paho.mqtt.client as mqtt
import RPi.GPIO as GPIO
import json


# MQTT broker config
broker = '127.0.0.1'
port = 1883
topic = 'smartHomeHubs/led'


def on_connect(client, userdata, flags, rc):
    print("Connecting to the MQTT broker...")
    if rc == 0:
        print("Connection success")
    else:
        print("Connected with result code "+str(rc))
    client.subscribe(topic)


def on_message(client, userdata, msg):
    payload = json.loads(msg.payload)
    led_status = payload.get('status')
    gpio_status = GPIO.input(4)
    if led_status == 'on' and gpio_status == 0:
        GPIO.output(4, True)
        print('LED on')
    elif led_status == 'off' and gpio_status == 1:
        GPIO.output(4, False)
        print('LED off')
    else:
        pass


def run():
    # connect MQTT broker
    client = mqtt.Client()
    client.on_connect = on_connect
    client.on_message = on_message
    client.connect(broker, 1883, 60)
    # set Raspberry Pi GPIO pin
    GPIO.setmode(GPIO.BCM)
    GPIO.setwarnings(False)
    GPIO.setup(4, GPIO.OUT)
    try:
        client.loop_forever()
    except KeyboardInterrupt:
        GPIO.cleanup()


if __name__ == "__main__":
    run()
Running test
python gy30.pyobtains the light data and uploads the data to the topic smartHomeHubs/light.
python led.pysubscribes to the topic smartHomeHubs/led, monitor the LED control messages.
- When we manually lower or raise the light, we can see that the LED light is also turn on and turn off.

Summary
So far, we successfully built the smart home hub based on Raspberry Pi + EMQX Edge + EMQX Kuiper.
We use Raspberry Pi to provide a rich external communication interface, EMQX Edge to provide the communication function between the devices, EMQX Kuiper to process and analyze the data of devices.
After that, we use a light sensor to obtain the light intensity, control turn on or turn off the LED through the light intensity. In the whole process, all data is processed and analyzed locally, reducing the risk of family private data leakage.!